
Last updated November 22, 2026
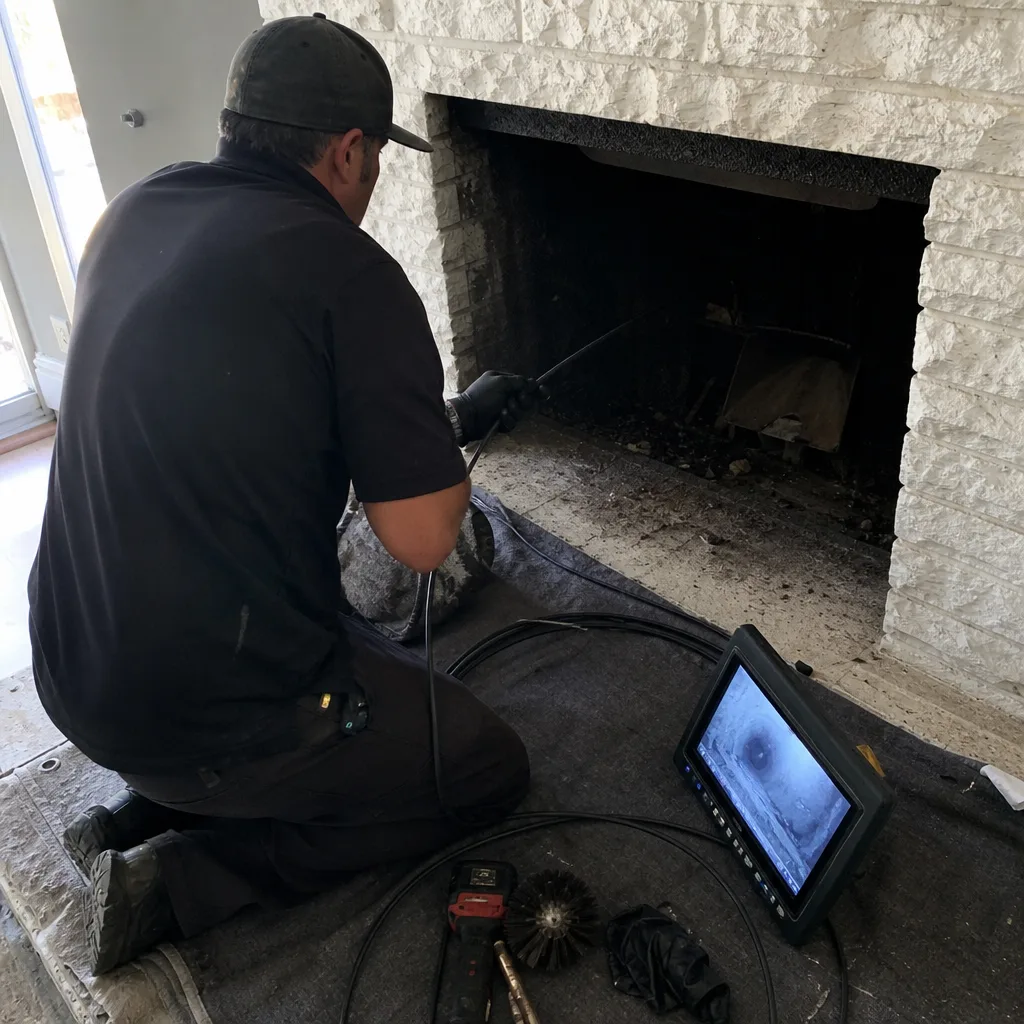
 Sweep & inspection
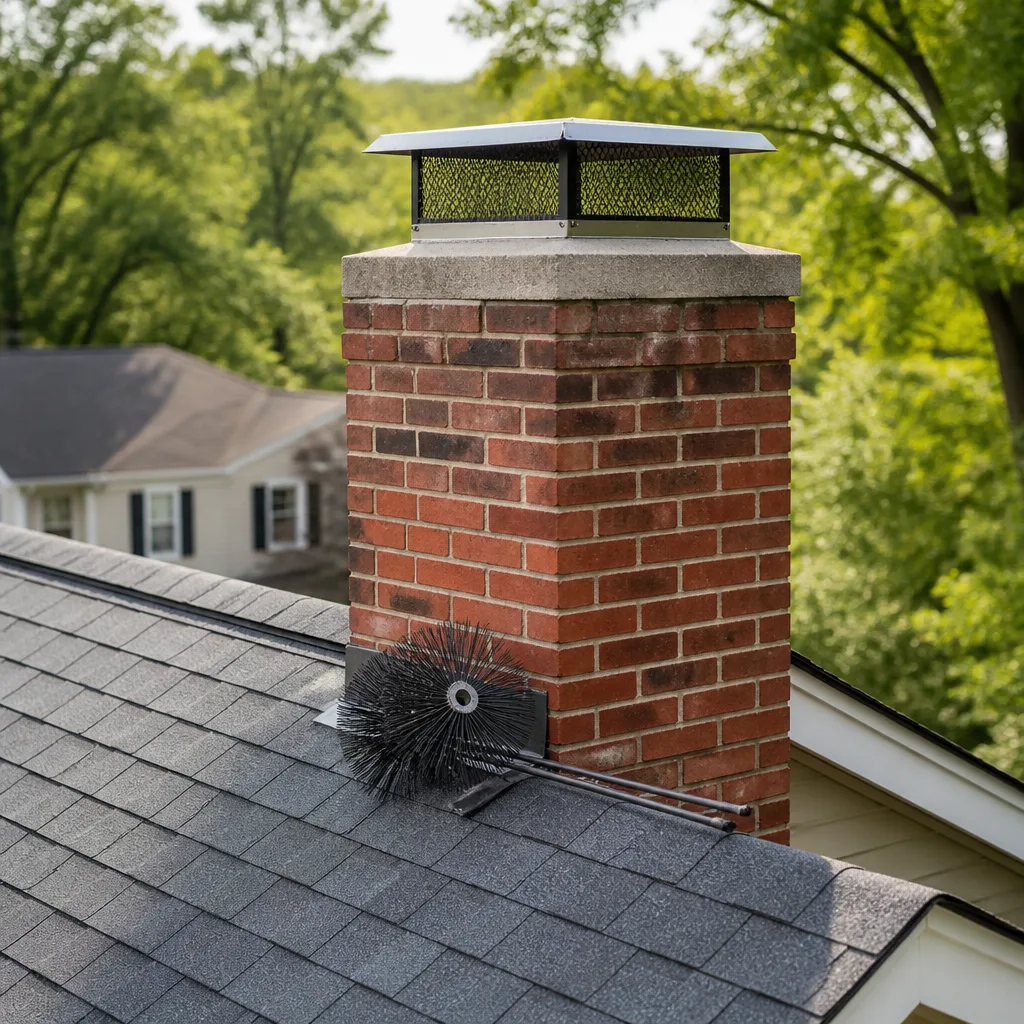
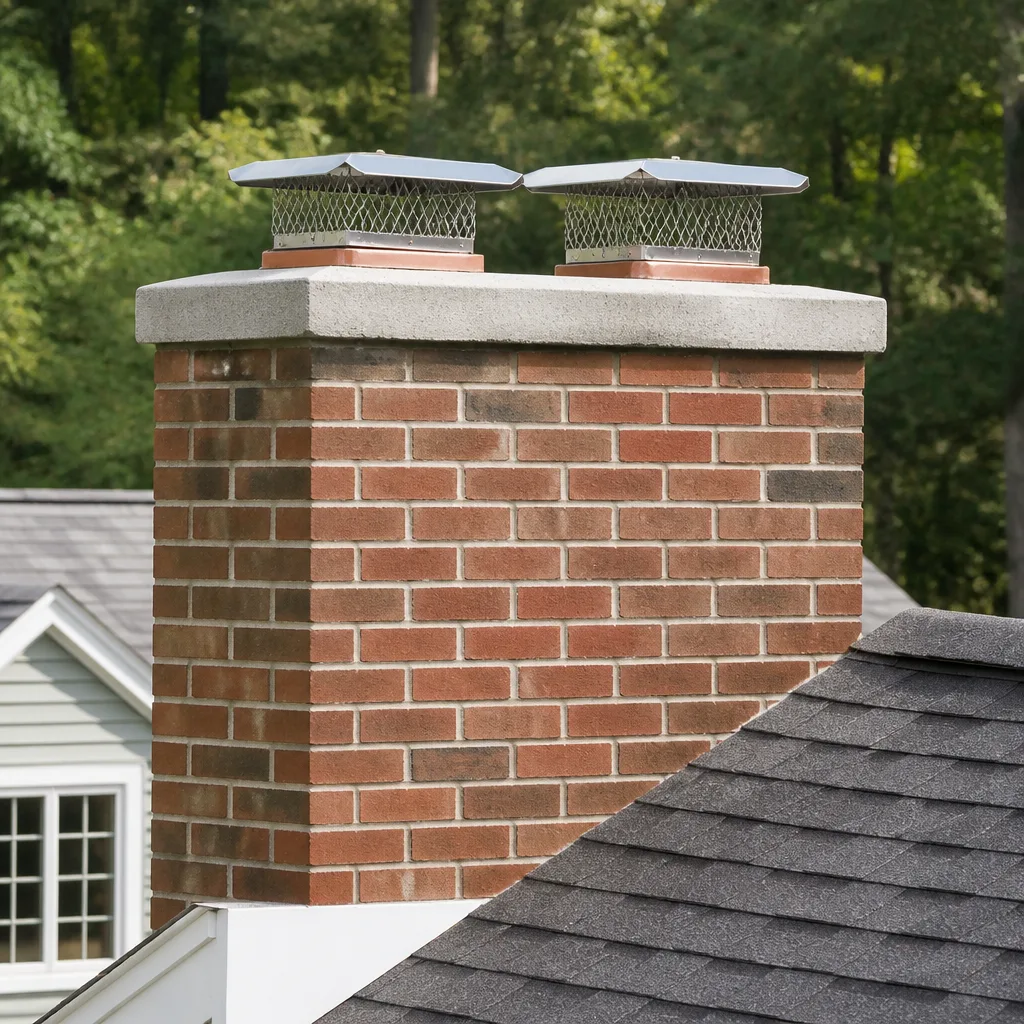 Caps & crowns
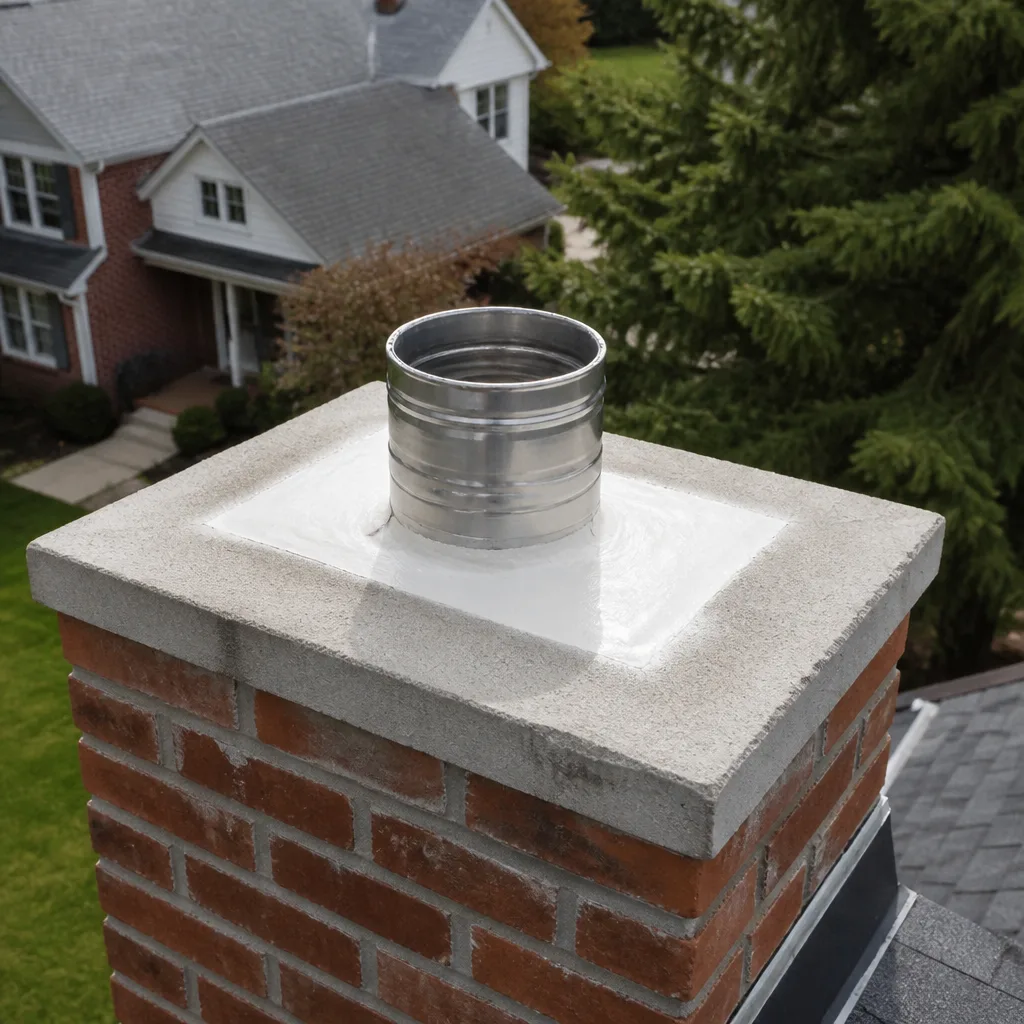 Flue relining
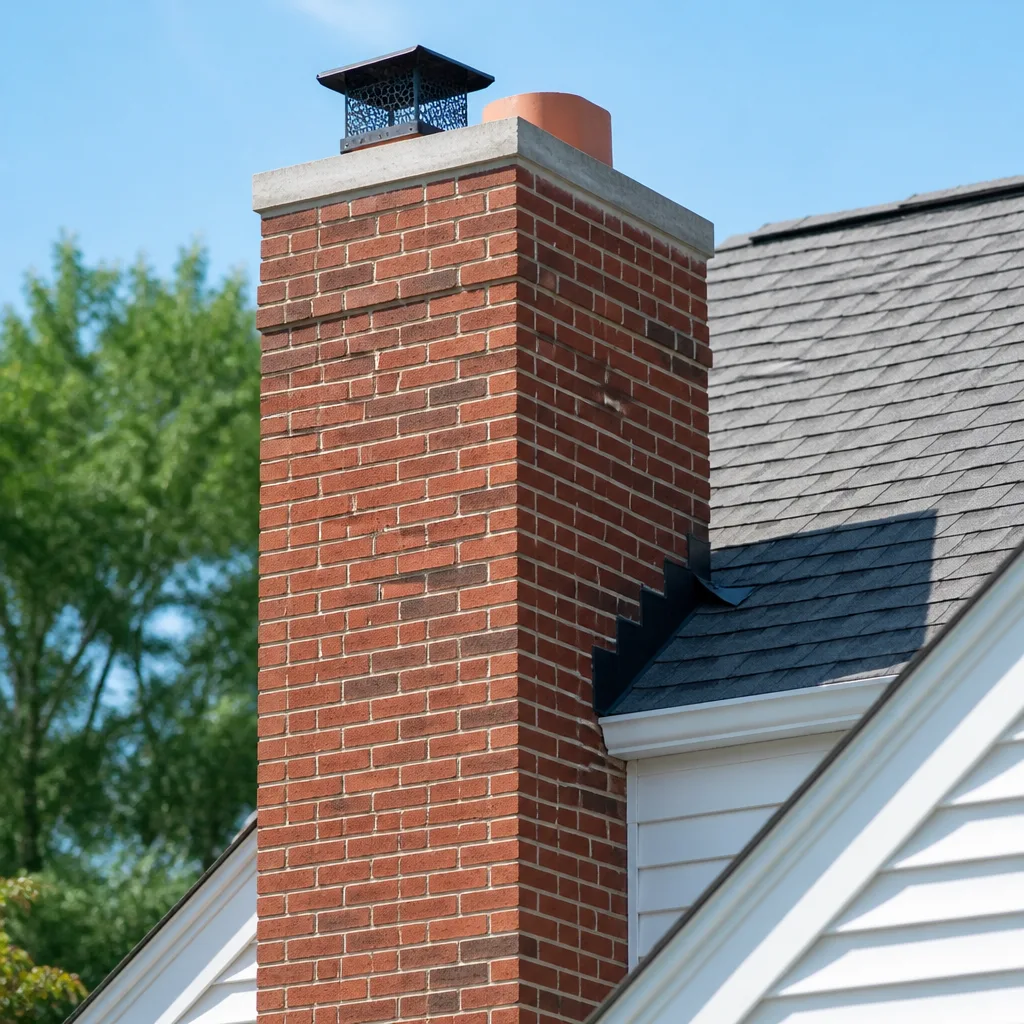 Masonry repair
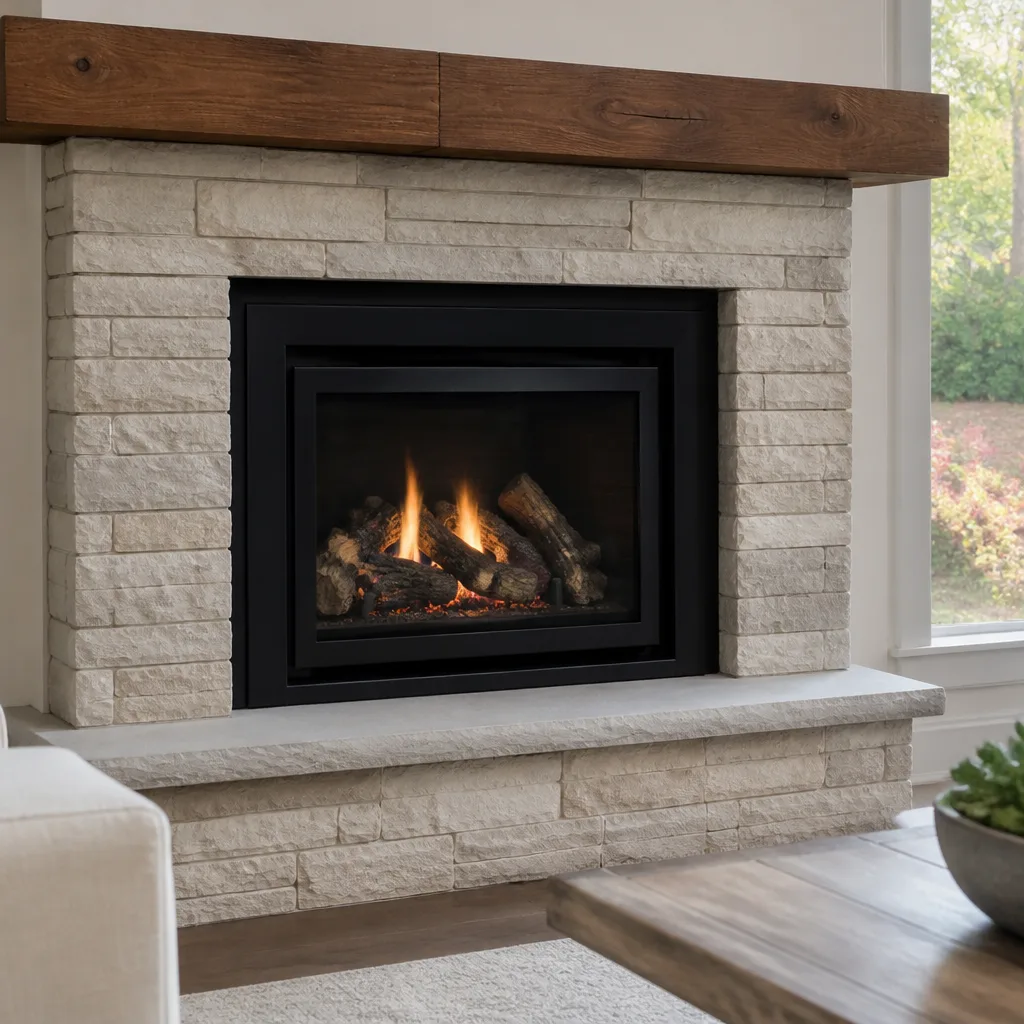 Gas fireplace service
Level 1 sweep and inspection to the NFPA 211 annual standard - flue, crown, cap, and flashing checked and photographed
Chimney sweep logs do not sweep chimneys. They loosen some creosote - which then falls where a brush and vacuum still have to collect it.
Chimney Sweep Maintenance Checklist for Pacific Palisades Homeowners
A chimney that looks fine from the curb can be failing from the top down for a long time before you notice anything inside. Most homeowners think of maintenance as one appointment a year, a sweep and a wave goodbye. But the parts that actually protect a Pacific Palisades home, the cap, the crown, the flashing, the liner, wear at different rates and fail for different reasons. What follows is a checklist organized by component instead of by calendar, so you can track what’s actually happening to your system between visits. You’ll learn what to check yourself, what needs a camera and a trained eye, and how to use the results to judge whether a repair quote is honest.
Quick Answer
The core maintenance checklist for a Pacific Palisades chimney covers seven components: cap, crown, flashing, flue liner, smoke chamber, damper, and firebox. Each should be checked at least once a year and again after significant rain or a strong Santa Ana wind event. A visual check catches the external parts; the liner and smoke chamber require a camera inspection by a trained professional.
Styles & brands we work with
- Sweep & inspection
- Caps & crowns
- Flue relining
- Masonry repair
- Gas fireplace service
Table of Contents
- How to Use This Checklist
- The Cap: First Line of Defense
- The Crown: Your Chimney’s Roof
- Flashing: Where Water Gets In
- The Flue Liner: What a Camera Shows
- Smoke Chamber and Damper
- The Firebox: The Fire You Can See
- Post-Rain and Post-Wind Inspection Triggers
- What You Can Check Yourself vs. What Needs a Professional
- Using the Checklist to Compare Contractor Quotes
How to Use This Checklist
This checklist works best as a condition record, not a one-time to-do. Each component gets a pass, a watch, or a fail based on what you observe. You write down the date and what you saw. Next season, you compare. A crack in the crown that hasn’t grown is a watch item. A crack that’s widened by a quarter inch says something is moving, and that shift is a fail even if the fireplace still draws well.
Here’s how to use it as a repeatable process:
- Walk the exterior first. From the ground and from a window or roof vantage you can safely access, note the condition of cap, crown, and the metal flashing where the chimney meets the roof. Photograph what you see.
- Check the interior you can reach. Open the damper, shine a light up the flue, and look at the firebox brick and mortar joints.
- Book the professional inspection. This is where the flue liner and smoke chamber get evaluated with a camera, not a flashlight.
- File the findings. Keep the inspection report with your home records. When you sell, a documented maintenance history is worth something to a buyer.
- Set your triggers. Add post-rain and post-wind checks to your calendar so a seasonal event, not a memory, reminds you to look again.
In our experience, homeowners who keep this record catch small problems while they’re still small. That’s the whole point of a component checklist. A full sweep and inspection is the foundation, and you can schedule one at our Chimney Sweep Pacific Palisades page.
The Cap: First Line of Defense
The cap sits on top of everything, so it takes the most direct wear. Its job is to keep rain, birds, and debris out of the flue while letting smoke escape. A failing cap lets water straight into the chimney, and that’s where interior damage starts. Check the cap by looking at the mesh, the seams, and the way it attaches to the flue.
Pass/fail indicators for the cap:
- Pass: the mesh is intact, the seams are solid, the cap is firmly attached, and there’s no rust staining running down the flue.
- Watch: light surface oxidation on fittings, a loose edge, or a small amount of debris caught in the mesh.
- Fail: rust-through on the mesh or seams, a cap that shifts when you nudge it, holes in the screen, or water tracking down the flue after rain.
Metal components are where we tell Pacific Palisades homeowners to look hardest. Standard galvanized steel caps corrode faster in a canyon community that sees marine moisture, and the corrosion often starts on the inside where you can’t see it until the cap lets go. Stainless caps and copper components last longer, and that’s why we install professional-grade products like Gelco chimney covers and Copperfield components rather than hardware-store substitutes. A cap replacement is one of the simplest jobs in the whole checklist, and it prevents some of the most expensive damage. When the cap and the crown both need work, we handle them together under one visit as part of our chimney cap & crown service.
The Crown: Your Chimney’s Roof
The crown is the concrete slab at the very top of the chimney that sheds water away from the flue. Think of it as a tiny roof. When it cracks, water seeps in, and in a Pacific Palisades climate that sees wet winters and long dry summers, a cracked crown expands and contracts until the crack opens wide. Check it by looking for cracks, crumbling edges, and any place where the crown has separated from the flue.
Pass/fail indicators for the crown:
- Pass: the surface is intact, the slope pushes water away from the flue, and the bond between crown and flue is tight.
- Watch: hairline cracks under the width of a dime, minor surface scaling, or a slightly worn edge.
- Fail: cracks wider than a dime, a crown that’s pulling away from the flue, spalling concrete, or visible water staining on the chimney below.
A failed crown is worth fixing before the next rainy season. Repair usually means resurfacing or rebuilding the crown with a proper slope and a flexible seal at the flue, not smearing caulk over the crack. We use HeatShield, a ceramic resurfacing system recognized in the trade, for flue repairs below the crown when conditions allow. If the crown is cracked and the cap is worn, both get addressed in one visit so the top of the chimney is water-tight and fire-safe.
Flashing: Where Water Gets In
Flashing is the metal that seals the gap between the chimney and the roof. It’s the part most homeowners never think about, and it’s the source of a lot of ceiling stains that get blamed on the cap. Check flashing by looking at the metal where it meets the masonry and the roof shingles. Look for lifted edges, gaps, rust, and sealant that’s cracked or pulling away.
Pass/fail indicators for flashing:
- Pass: the metal sits tight to the chimney, the shingles overlap it cleanly, and there’s no staining on the masonry below.
- Watch: older sealant that’s starting to dry and crack, or slight lifting at one corner.
- Fail: visible gaps, rust holes, separated metal, or a water stain on the ceiling or chimney chase after a rain.
Flashing failures are sneaky because the leak often shows up far from the source. Water enters at the roofline and travels down the chase before it finds a way through. If you see a stain on a ceiling or a wall near the chimney, get it looked at rather than assuming it’s the cap. The fix depends on what’s found, and in our experience a proper flashing repair outlasts a bead of caulk by a wide margin. That’s the “built to last, not patched to pass” idea in practice.
The Flue Liner: What a Camera Shows
The flue liner is the inner wall that carries smoke and hot gases up and out. If it’s cracked, separated, or missing, heat and embers can reach the structure of the house. You can’t evaluate a liner by shining a flashlight up the flue from below. It needs a camera inspection by a trained professional who can see the full length of the flue.
Pass/fail indicators for the liner:
- Pass: a continuous liner with no cracks, gaps, or missing sections, verified on camera.
- Watch: minor surface cracking or glazing that the inspector documents for the next visit.
- Fail: cracked or separated tiles, gaps at joints, a deteriorated clay liner, or no liner at all.
When a liner fails, the fix isn’t always a full replacement. HeatShield ceramic resurfacing can restore a clay flue in qualifying chimneys, which avoids tearing out and relining the whole run. When a full liner is the right answer, we install DuraFlex flexible liner systems, the professional standard for relining aging flues and bringing an older fireplace up to current safety performance. The liner is the single most important safety component in the system, so this is the part of the checklist where a real camera inspection earns its keep. We treat inspection as its own service, so you can book a diagnostic visit and see exactly what the camera sees. Then you and the inspector can decide together whether repair can safely wait or whether it’s a now problem. A full sweep and a camera inspection are the heart of maintaining any chimney in Pacific Palisades, and both start at our chimney sweep service.
Smoke Chamber and Damper
The smoke chamber is the sloped area just above the damper that funnels smoke into the flue. The damper is the door you open and close to control draft. Both affect how well the fireplace draws, and both are hard to judge from the living room. Check the damper by hand: it should open and close smoothly and seal when closed. The smoke chamber needs a camera and a trained eye to see the condition of its walls.
Pass/fail indicators for smoke chamber and damper:
- Pass: the damper moves freely and seats when closed; the smoke chamber walls are smooth and intact; smoke goes up rather than lingering in the room.
- Watch: a stiff damper handle, light creosote buildup in the chamber, or slight smoke spillage on a cold start.
- Fail: a damper that won’t close or is rusted open, a warped or cracked smoke chamber, heavy creosote, or smoke rolling into the room during normal use.
Parging, or smoothing, a rough smoke chamber improves draft and reduces how quickly creosote collects. A damper that’s stuck open wastes heat and lets cold air down the flue when the fireplace isn’t in use. If you notice smoke spilling into the room on every fire, that’s a failure worth diagnosing. A fireplace that won’t draw right often turns out to have a smoke chamber or liner problem, not a firewood problem, and our fireplace repair service covers both.
The Firebox: The Fire You Can See
The firebox is where the fire actually burns, and it’s the one interior component you can inspect yourself without a camera. Look at the brick, the mortar joints, and the metal grate. Check for gaps, crumbling mortar, cracked brick faces, and any white staining that could indicate water getting in.
Pass/fail indicators for the firebox:
- Pass: brick faces are intact, mortar joints are solid, and there’s no visible staining or crumbling.
- Watch: light surface spalling or a small isolated mortar crack.
- Fail: open mortar joints, cracked or loose brick, a firebox that’s shifted, or white staining on the brick.
A firebox in good shape keeps heat where it belongs. A firebox with open joints lets heat and gases reach places they shouldn’t. Repair means rebuilding or repointing with materials that hold up to fire, not patching with standard mortar. Firebox condition is tied to the whole system, so if the firebox is failing, the inspector will look at the liner and smoke chamber too.
Post-Rain and Post-Wind Inspection Triggers
An annual visit is the backbone of chimney maintenance, but two seasonal events in Pacific Palisades deserve their own follow-up check regardless of how often you use the fireplace. The first is significant rain. The second is a strong Santa Ana wind event. A chimney that’s perfectly fine in dry weather can show a leak or a loosened cap or flashing after either.
What to look for after a rain:
- Ceiling and wall stains near the chimney chase, which can point to flashing or crown failures.
- Water in the firebox after a storm, which usually means a failed cap or a crown problem letting water down the flue.
- Dampness or staining on the masonry of the chimney itself, which can indicate water tracking down the outside.
- Rust or water marks on the damper and firebox hardware.
What to look for after a Santa Ana wind event:
- A shifted or missing cap from high winds and debris.
- Loosened flashing where wind has worked at the metal edge.
- New cracks in the crown that weren’t there before the wind.
- Debris in the flue from nearby trees, which can block the draft.
Add these two triggers to your calendar next to your annual inspection. It only takes a few minutes to look, and it tells you whether to book a visit or wait. If you spot anything, we’re one call away and can walk you through what you’re seeing.
What You Can Check Yourself vs. What Needs a Professional
Not every item on this checklist is a do-it-yourself job, and knowing the difference keeps you safe. The parts you can safely check are the ones you can reach without climbing the chimney or leaning over the roof. The parts you can’t reach, including the full length of the flue liner and the smoke chamber, need a camera and a trained eye.
Safe for you to check visually:
- Cap mesh, seams, and rust from the ground or a safe window vantage.
- Crown cracks and separation, from a safe distance.
- Flashing metal and any staining on the masonry around it.
- Damper operation by hand.
- Firebox brick and mortar joints.
Needs a professional:
- Full-length flue liner condition, which requires a camera.
- Smoke chamber walls, which are hard to see and hard to reach.
- Any repair that involves working at the top of the chimney or on the roof.
- Creosote removal beyond surface level.
- Resurfacing or relining, which requires trained application and professional-grade materials.
We say this as a safety matter, not a sales matter. Any work at height on a chimney is genuinely dangerous, and the liner is not something to poke at from below. A trained technician has the camera and the gear to see the whole system. Our technicians have up to 11 years of experience, and they inspect first and recommend second. That order matters: the findings come before the repair talk.
Using the Checklist to Compare Contractor Quotes
The best defense against being sold work you don’t need is a record of what’s actually wrong. When you have a checklist in hand and a report showing the findings, you can read a quote and judge whether it addresses real problems or makes up new ones. Here’s how to use the checklist when you compare quotes.
- Match each quoted line to a finding. A quote for a cap replacement should line up with a failed cap in the report. If the quote names work the report doesn’t show, ask why.
- Ask for the camera evidence. A liner or smoke chamber recommendation should come with photos or video the contractor is willing to show you. If they can’t or won’t, that’s a red flag.
- Check the materials listed. Professional-grade components have names. If the quote lists DuraFlex for a reline or HeatShield for a flue resurfacing, you can look them up and confirm they’re the right products for the job.
- Ask what can safely wait. A good contractor tells you which items are urgent and which can be scheduled later. If everything is urgent, get a second opinion.
- Confirm the visit is a real inspection. A sweep and an inspection are different services. A quote for major repair should be based on an inspection, not a sweep-and-peek.
Use the checklist to keep quotes comparable. If one quote covers a cap and another covers the cap, crown, and flashing, you’re comparing different scopes, not different prices. And if a contractor can’t walk you through what they found and why it matters, that’s an answer in itself.
Common Mistakes to Avoid
- Treating the annual sweep as the whole checklist. A sweep clears creosote; it doesn’t evaluate the cap, crown, flashing, or liner. Maintenance means each component gets checked, not just the flue cleaned.
- Assuming a leak is the cap. In Pacific Palisades, flashing failures are just as common as cap failures and often show up first as a ceiling stain. Check both before you buy anything.
- Skipping the camera because the fire burns well. A fireplace can draw fine with a cracked liner; the draft isn’t the safety test. The liner needs a camera inspection regardless of how the fire behaves.
- Patching a cracked crown with caulk. A bead of sealant over a structural crack hides the problem for a season and lets water in underneath. Repair means resurfacing or rebuilding with the right slope.
- Ignoring the checklist between visits. A cap that fails in a wind event and a crown that cracks over a wet winter are both detectable with a look after the event. Set the triggers and use them.
- Comparing quotes without a written report. A quote is only as good as the inspection behind it. No camera evidence, no ability to compare.
- Buying the cheapest cap or liner. Hardware-store caps and liners corrode faster and fail sooner. Professional-grade materials cost a little more up front and last a lot longer.
See the difference
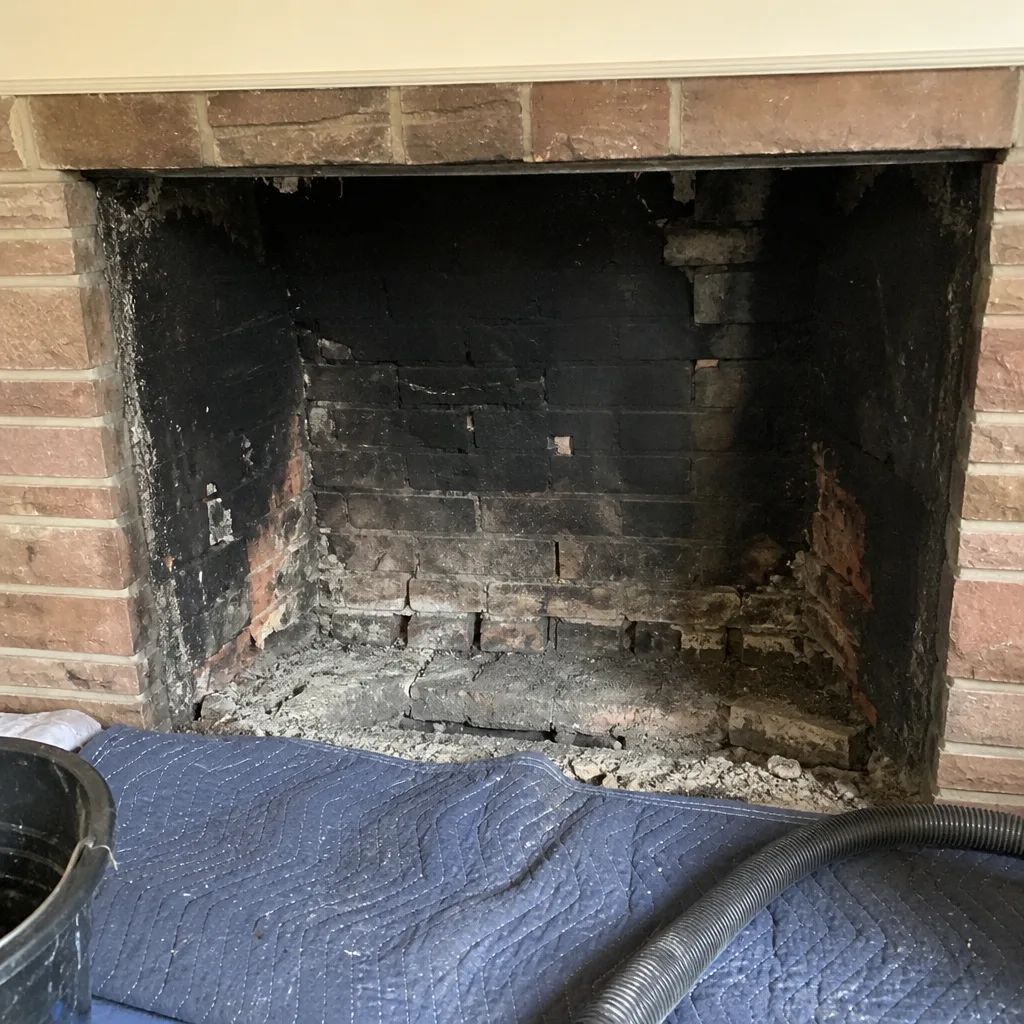 Before
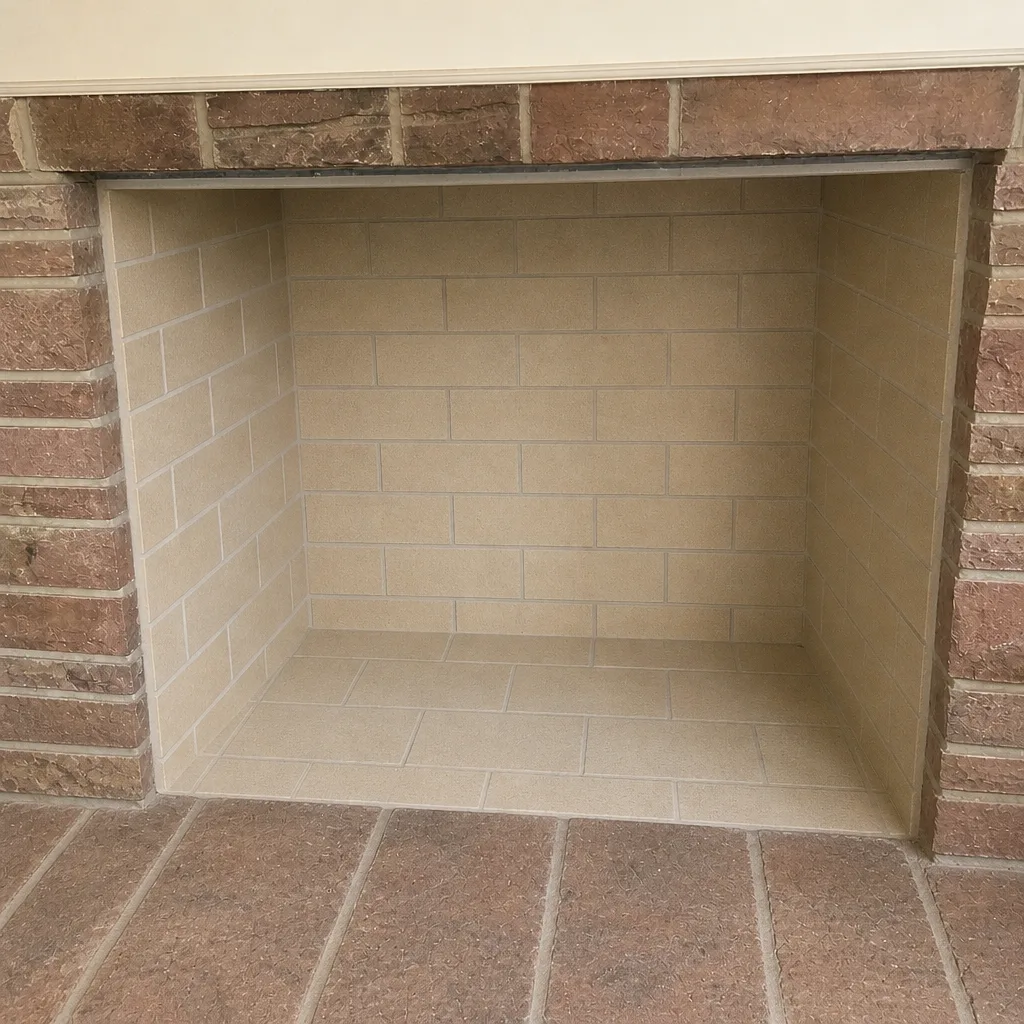 After
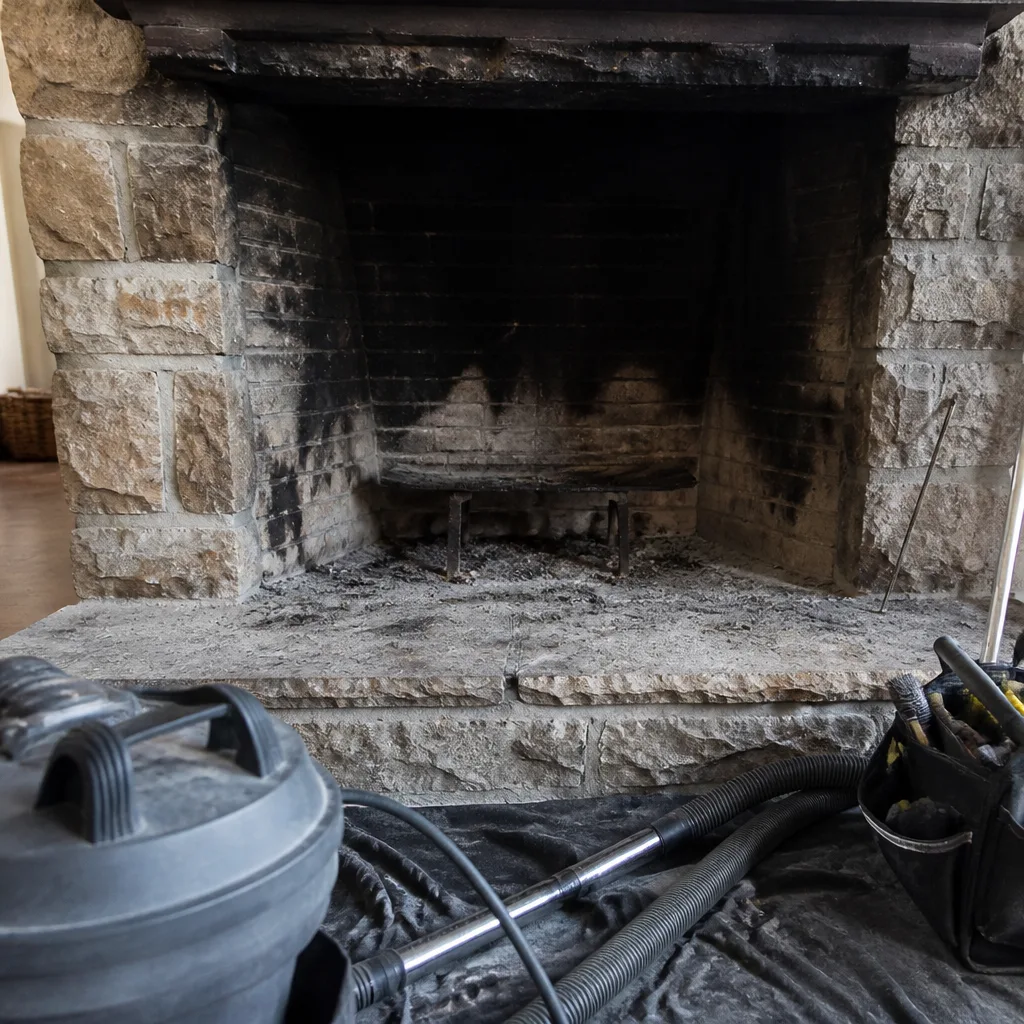 Before
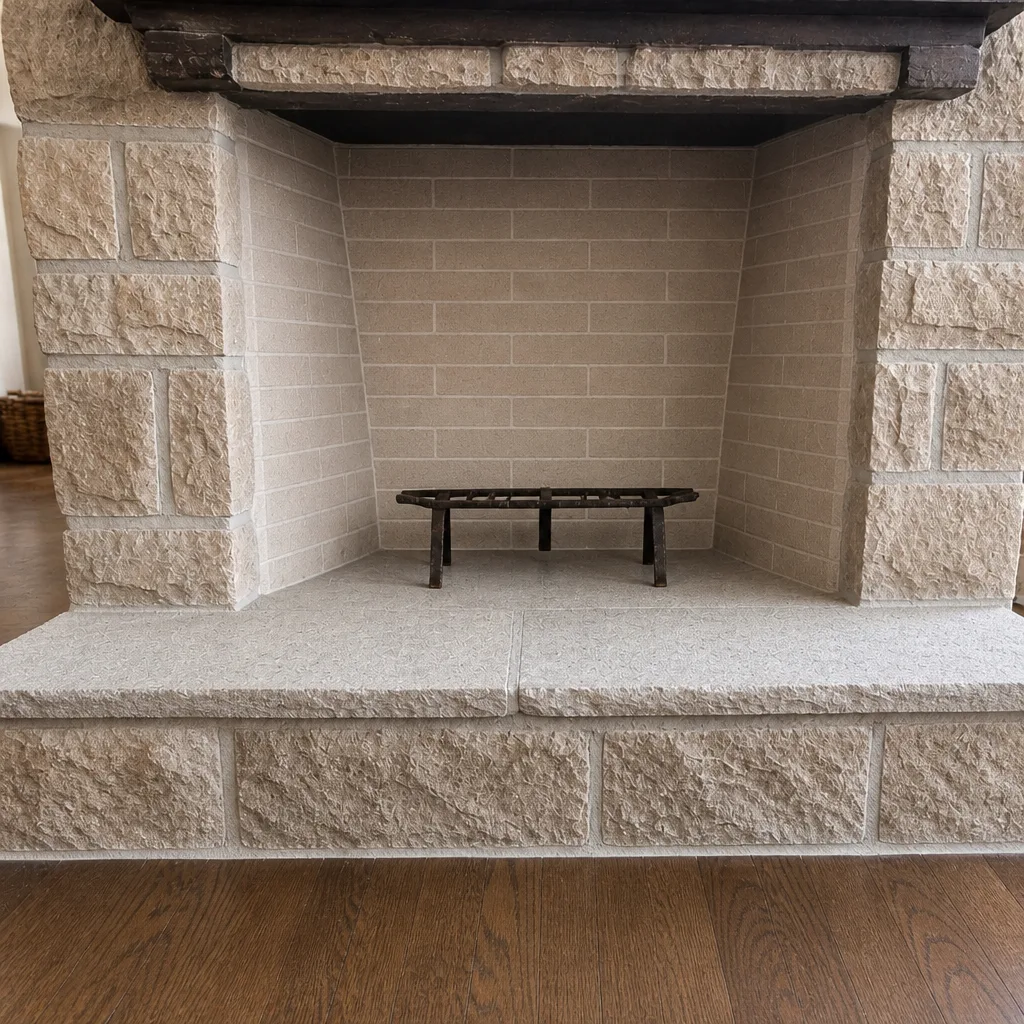 After
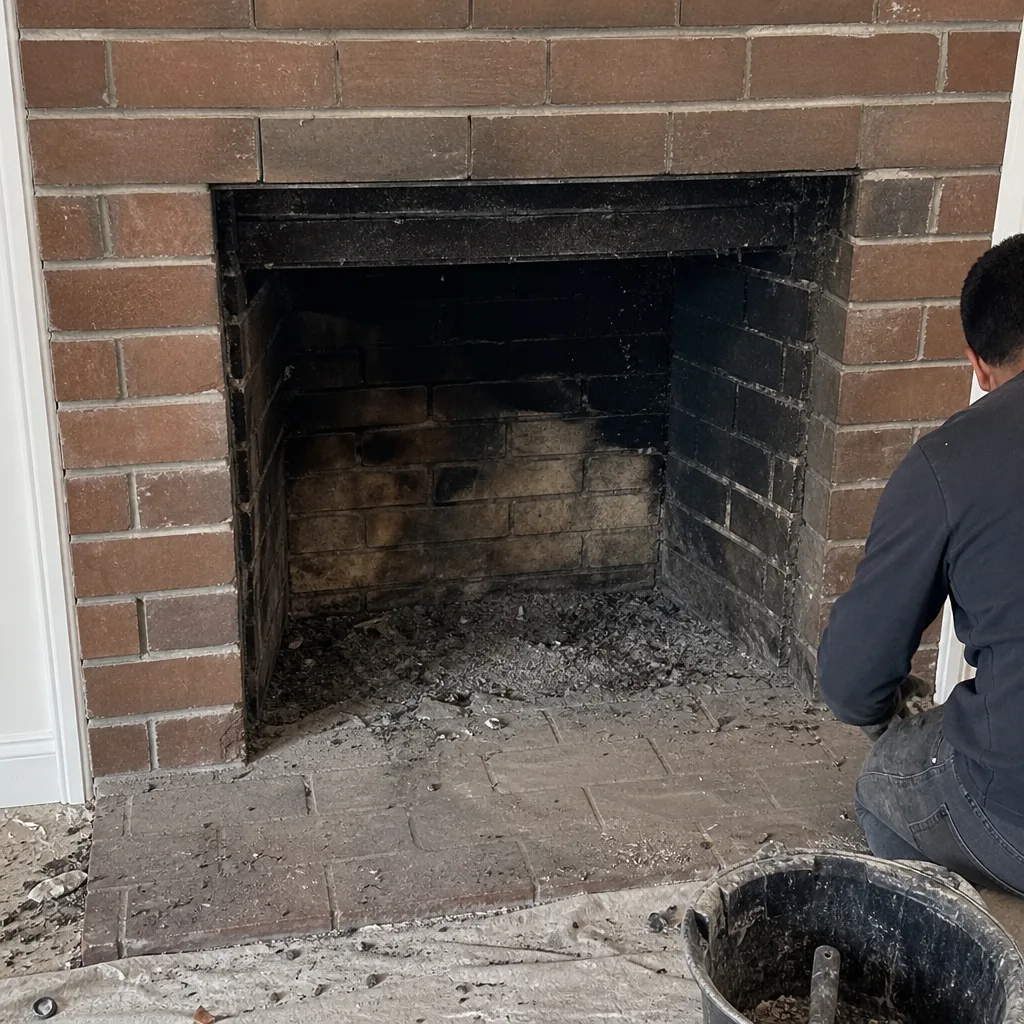 Before
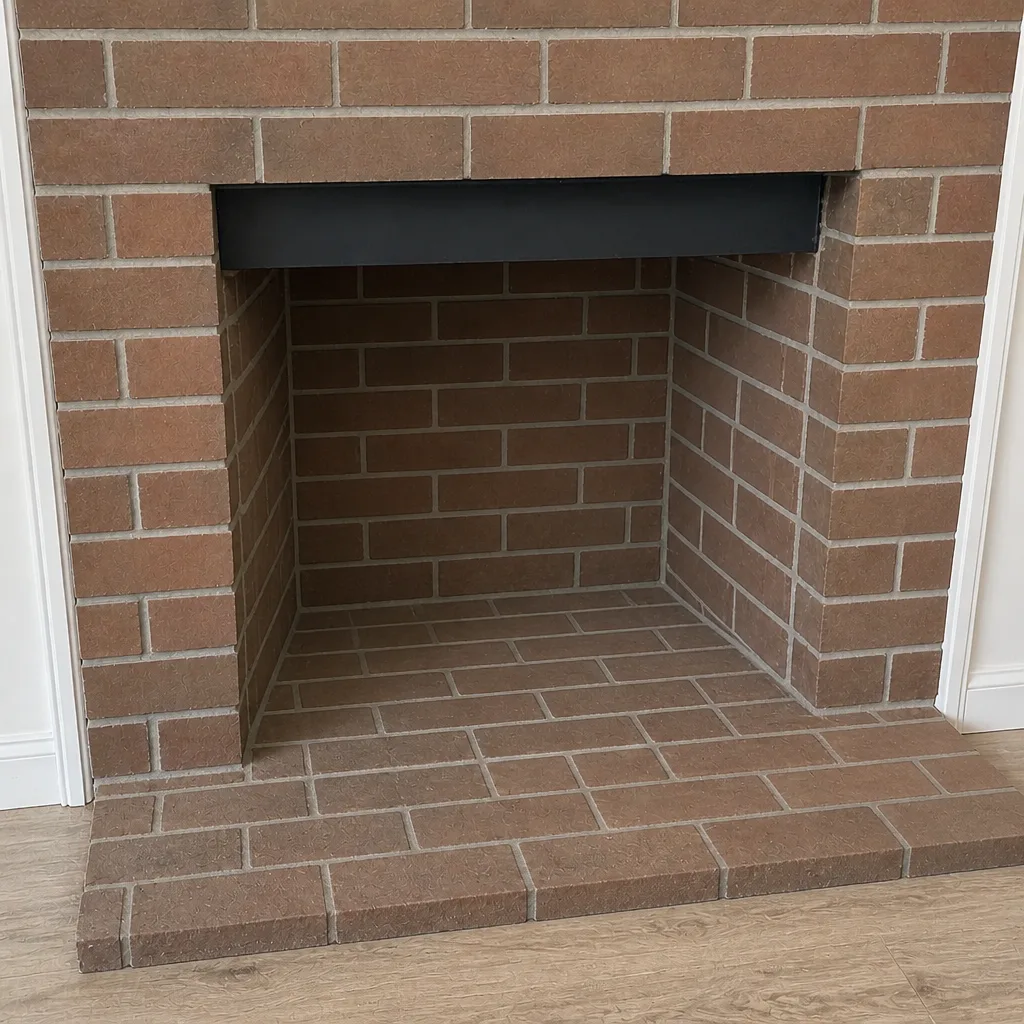 After
When to Call a Professional
Call a professional when you find a fail on any item in this checklist, when you see water in the firebox or a stain on the ceiling after rain, when the damper won’t operate, or when the liner has never had a camera inspection. Call if you’ve just moved into an older Pacific Palisades home and don’t know the chimney’s history, or if it’s been more than a year since the last sweep. Call before your first fire of the season if the fireplace will be the main heat source for the room. You can book an inspection as its own visit, separate from cleaning, so you can start with diagnostics and decide on repair after. Chimney Sweep Pacific Palisades offers free estimates in Pacific Palisades, and we cover the full system from sweep to cap, crown, liner, and firebox. Call (855) 531-2802.
Frequently Asked Questions
A chimney should be swept and inspected at least once a year, and more often if you burn frequently or notice creosote buildup. In Pacific Palisades, add post-rain and post-wind visual checks to your annual visit. The annual visit covers the sweep and the camera inspection; the seasonal checks catch changes between visits.
Resurfacing with HeatShield is enough when the flue is intact and only needs a new inner surface. A full reline with DuraFlex is the right answer when the liner is cracked, separated, or missing. The only way to know which applies is a camera inspection. Call (855) 531-2802 for an exact quote; estimates are free.
You can check the cap and crown visually from the ground or a safe window vantage. Look for rust-through on the cap, cracks in the crown, and separation where the crown meets the flue. Don’t climb onto the roof or the chimney to get a closer look. Leave that to a trained technician.
A skipped checklist means failures go unnoticed until they show up as interior water damage, a fire hazard, or poor draft. A cracked liner, a failed crown, and a broken cap don’t announce themselves; they show up in the camera inspection or on the ceiling below. Regular checks catch them while the repair is still small.
A repair quote is honest when it lines up with documented findings and comes with camera evidence you can see. Ask the inspector to show you the flue, the smoke chamber, and the crown condition in the photos. Ask what can safely wait. If the quote adds work the findings don’t support, get a second opinion.
The flue liner and smoke chamber need a camera inspection. Those are below the visible portion of the chimney, and a flashlight from the firebox won’t reveal them. The exterior parts, cap, crown, and flashing, can be checked visually, but repairs at the top of the chimney should be done by a trained technician. Call (855) 531-2802 to book an inspection. We answer 24/7. Fast dispatch from 7am to 7pm, Sunday through Friday.
The Bottom Line
A chimney maintenance checklist that works is organized by component, not by calendar. Track the cap, crown, flashing, liner, smoke chamber, damper, and firebox against pass/watch/fail indicators. Add post-rain and post-wind checks to your calendar so seasonal events, not memory, prompt the look. Know which parts you can check yourself and which need a camera. Use the record to compare quotes and confirm a repair addresses real findings. That’s how you protect a Pacific Palisades home from the top of the chimney down.
Call (855) 531-2802 for a free estimate. We answer 24/7. Fast dispatch from 7am to 7pm, Sunday through Friday. We work with professional-grade materials including DuraFlex, HeatShield, Gelco, and Olympia Chimney, and we inspect first and recommend second so you can see the findings for yourself.
Written by the team at Chimney Sweep Pacific Palisades.